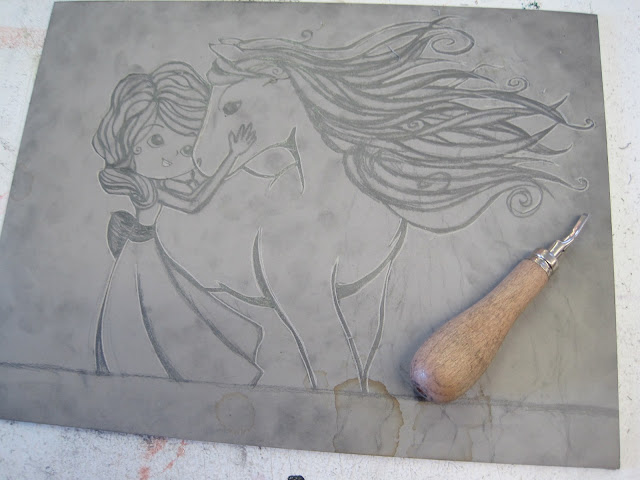
2. Transfer you drawing on the the lino block. Keep in mind that your image will be flipped when printed. That is very important- especially when working with text.
3. Start carving out the parts that you don't want printed. For large parts I like to outline the shape to try and preserve my line quality.
4. Keep carving. Keep in mind the direction of your marks because you often will have directional marks in your final print so make use of them.
5. If you are having a hard time figuring out what will be inked, fill in the inked part with pencil.
6. Keep carving
7. Roll out your ink. Make sure it is nice and even.
8. Ink up your block
9. Print
10. Let dry


No comments:
Post a Comment